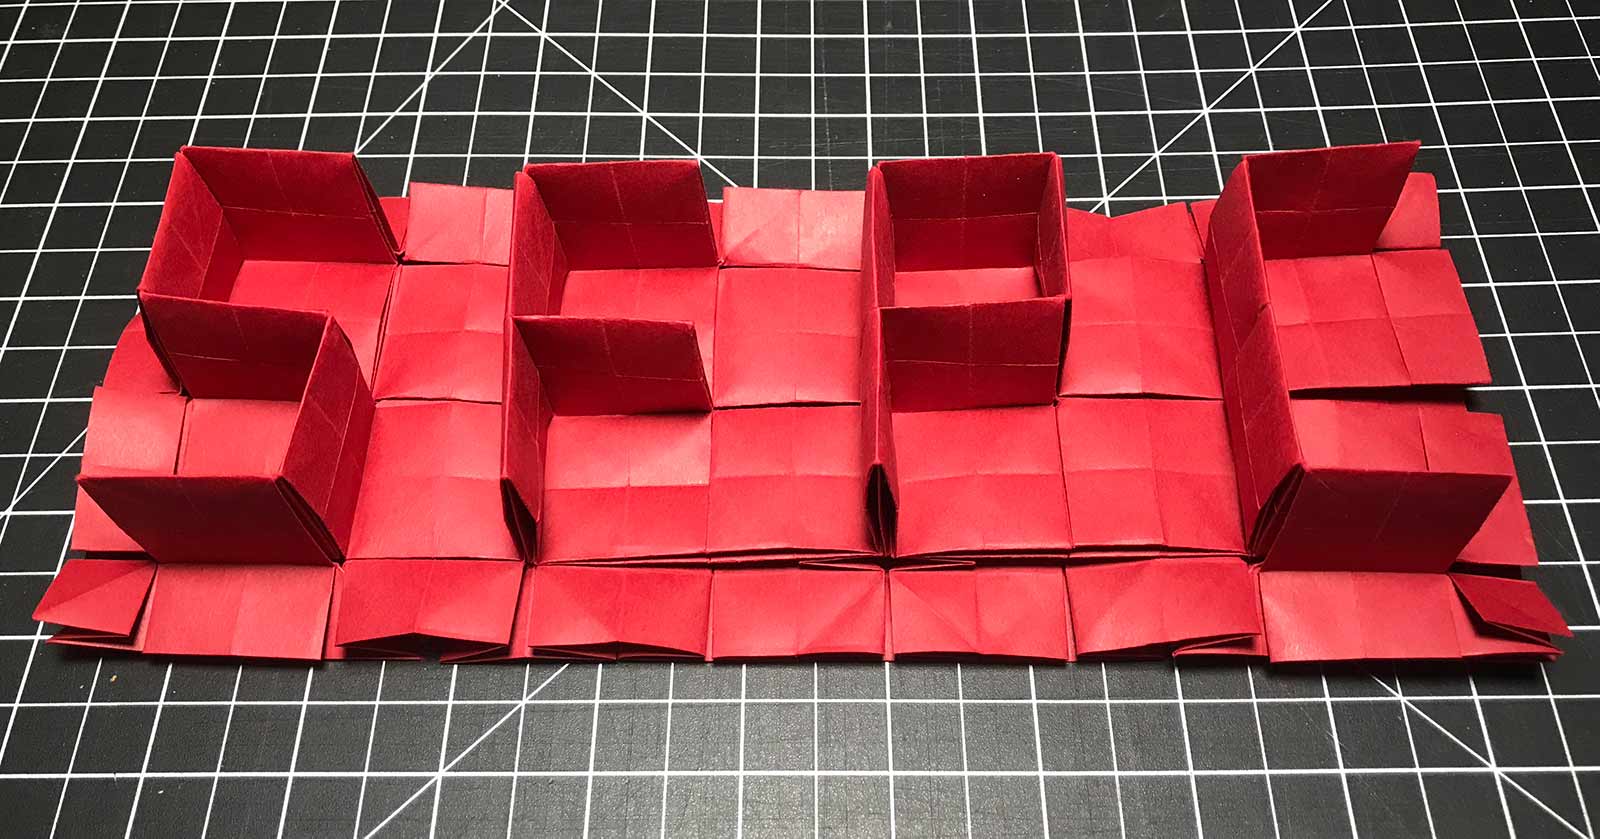
Origami maze algorithm by Demaine, Demaine, Ku
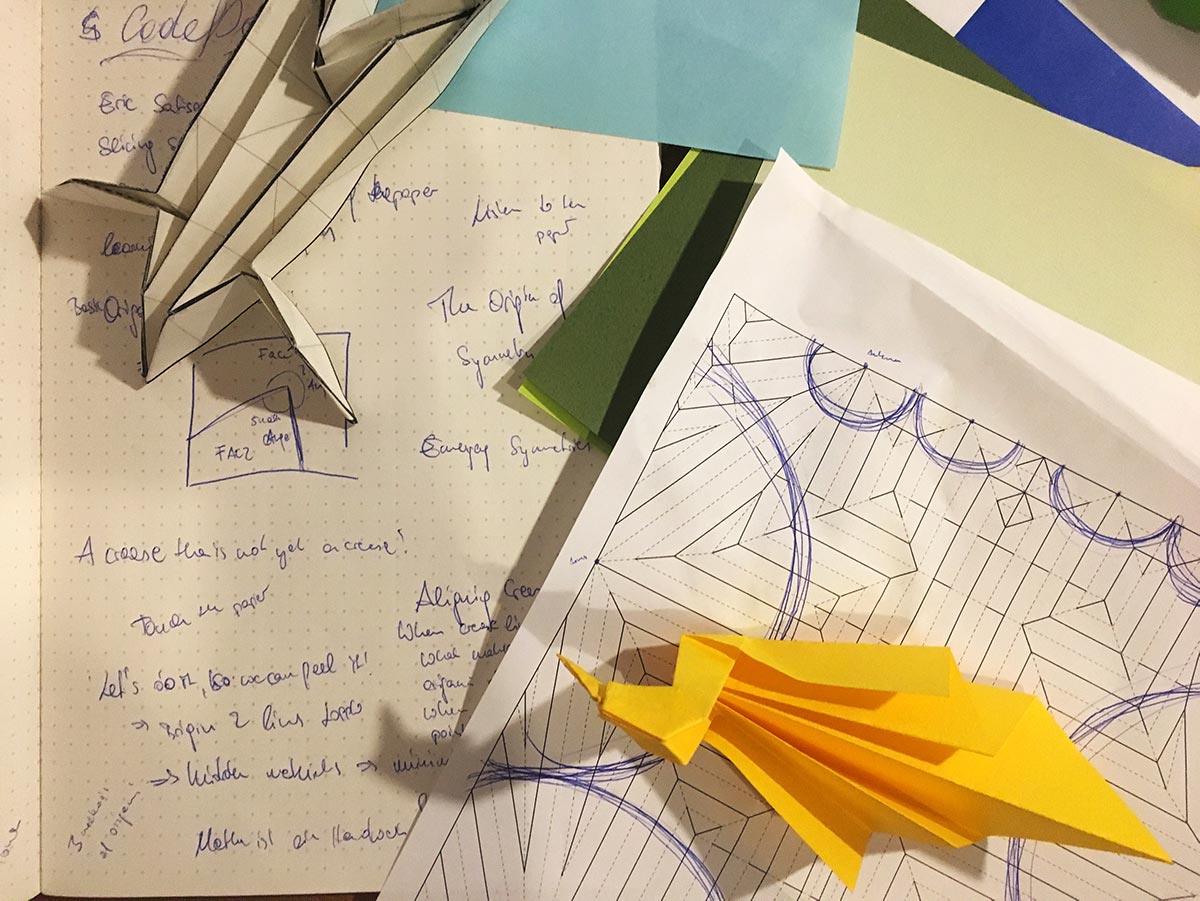
In February 2019, I taught classes on origami design at the School for Poetic Computation as a part of an experimental course which I co-organized with Kelli Anderson. Origami was just one of 3 tracks, alongside paper engineering and paper electronics. The school was filled with creasing machines, conductive ink, and Kelli’s incredible wall of cut/fold templates. Above all, the students were absolutely amazing—I can’t say enough how enjoyable they made the class.
Origami Curriculum
In two days at Code-Paper-Scissors we explored 6 approaches to design:
- modifying existing pieces
- convex/concave-hull wrapping
- exploring aimlessly along the Maekawa-gami 90°/n angle grid
- circle river uniaxial base design
- design a twist unit for tessellations
- consistent space allocation for automated/replicable design
In origami education right now we have Erik’s class and countless lessons about how to fold a single piece, but not much between the two. I wanted to bring academia into an artist studio where:
- theory is learned through hands-on exercises
- vocabulary is accessible to beginners and math is not a prerequisite
- students experience a comprehensive workflow from design to folded model
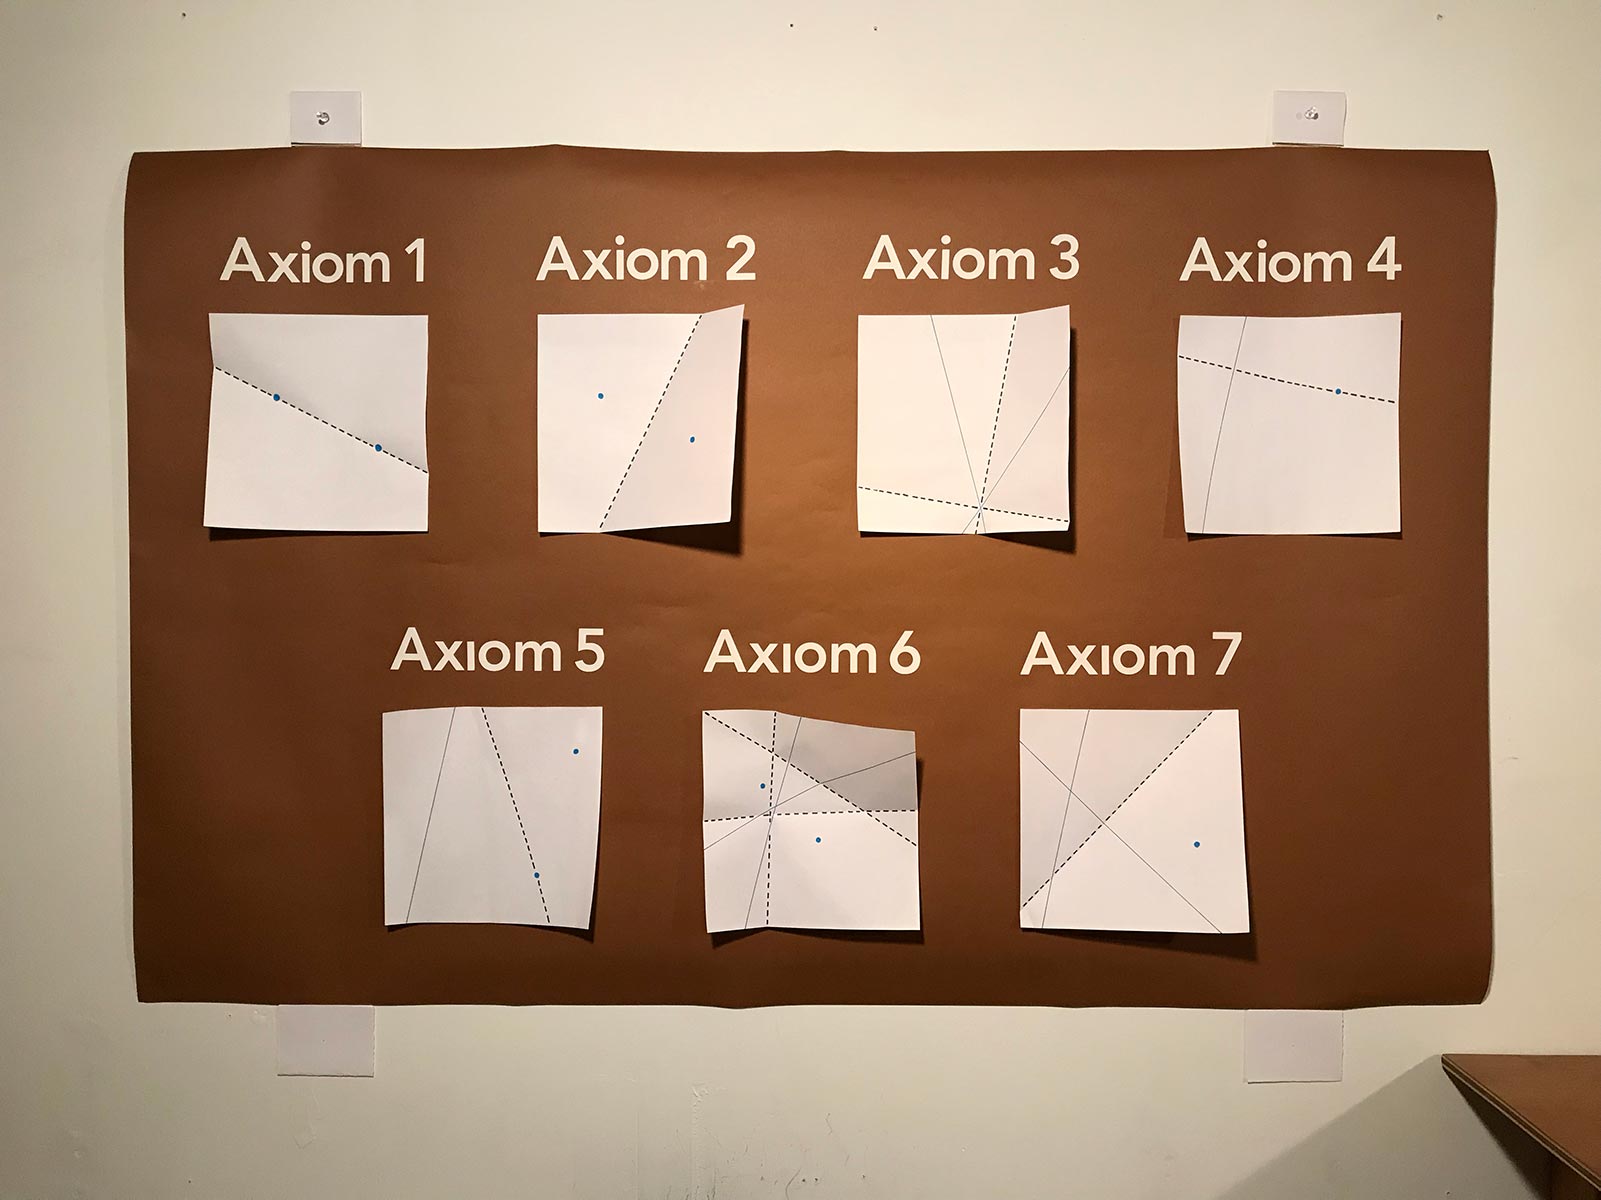
We covered a lot of ground. I would love to write about it all in more detail someday. I wanted to at least share a few excerpts here.
Hull wrapping
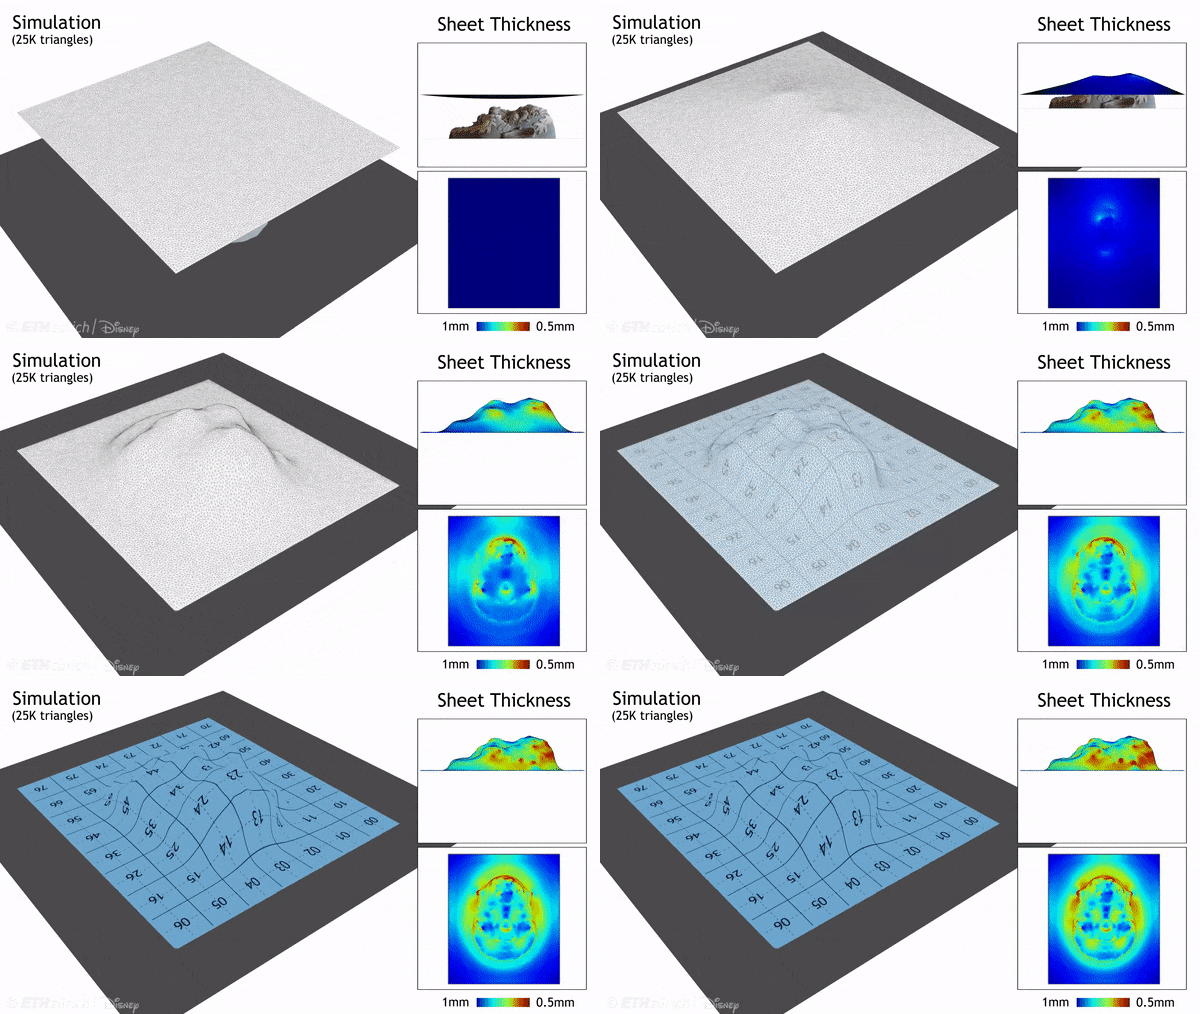
After an introduction to design with more traditional methods, which can feel overwhelming to beginners, this exercise is a welcomed reality-check. This animation shows computational thermoforming which shrink-wraps a plastic sheet around an object. We’ll be similarly designing by wrapping, but with the constraint that origami paper cannot stretch.
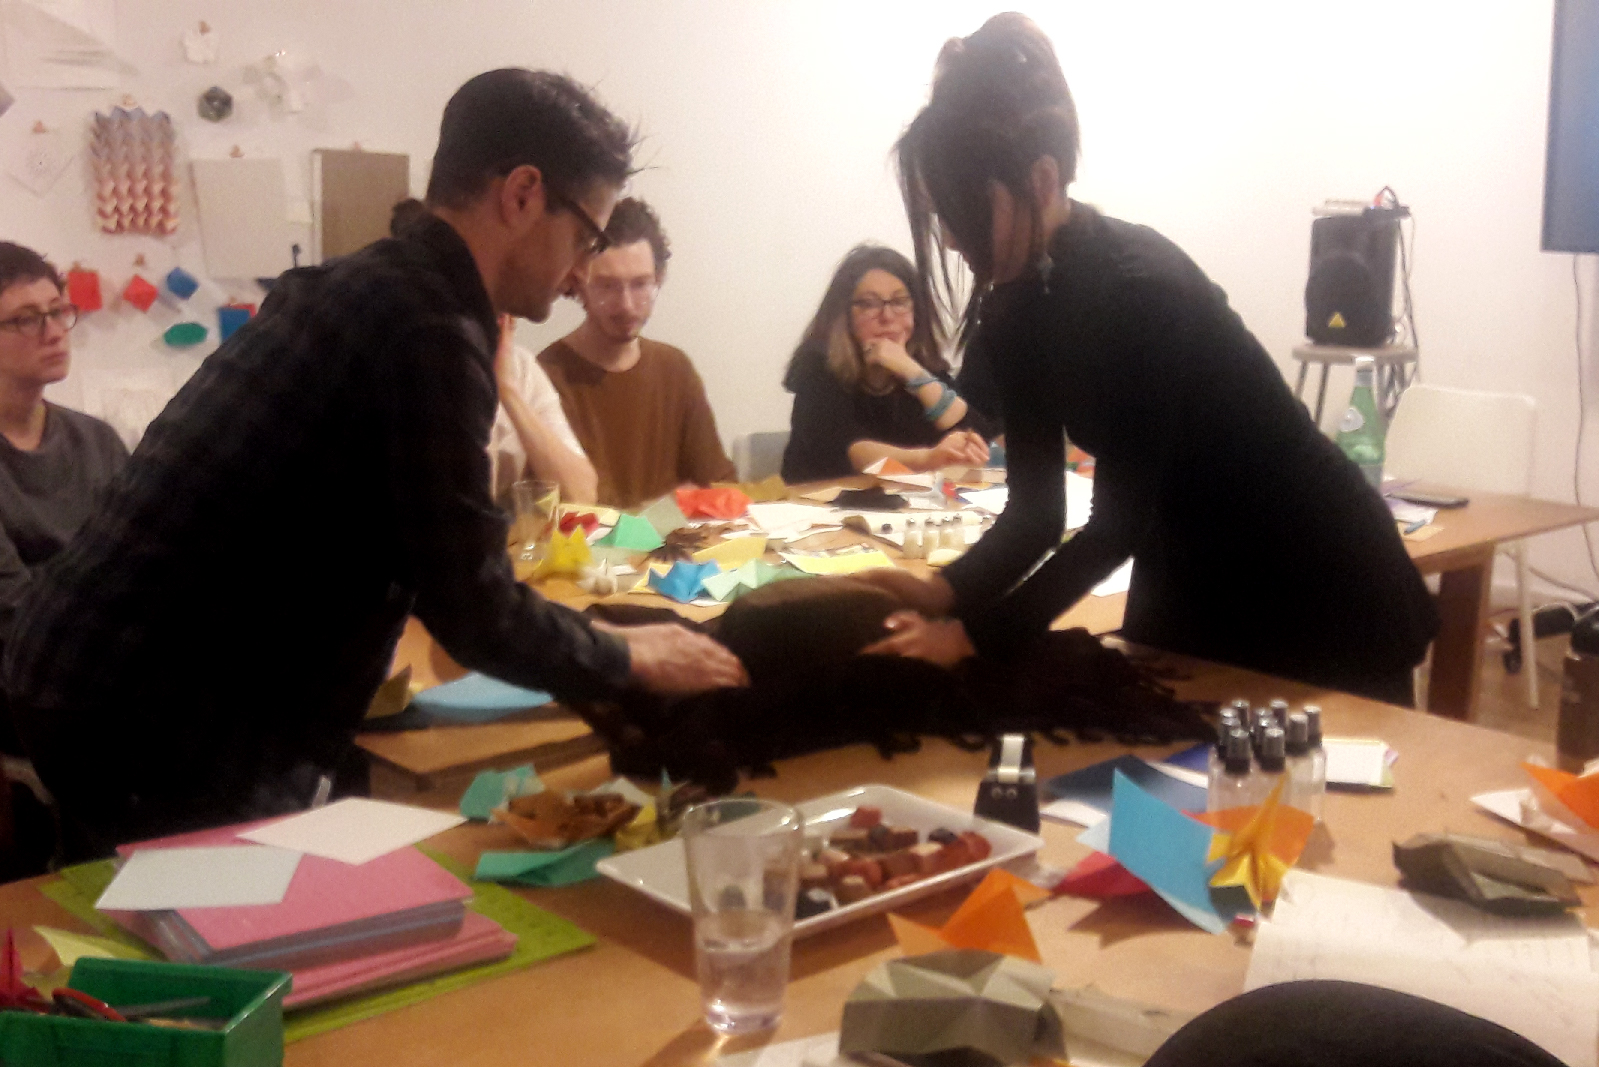
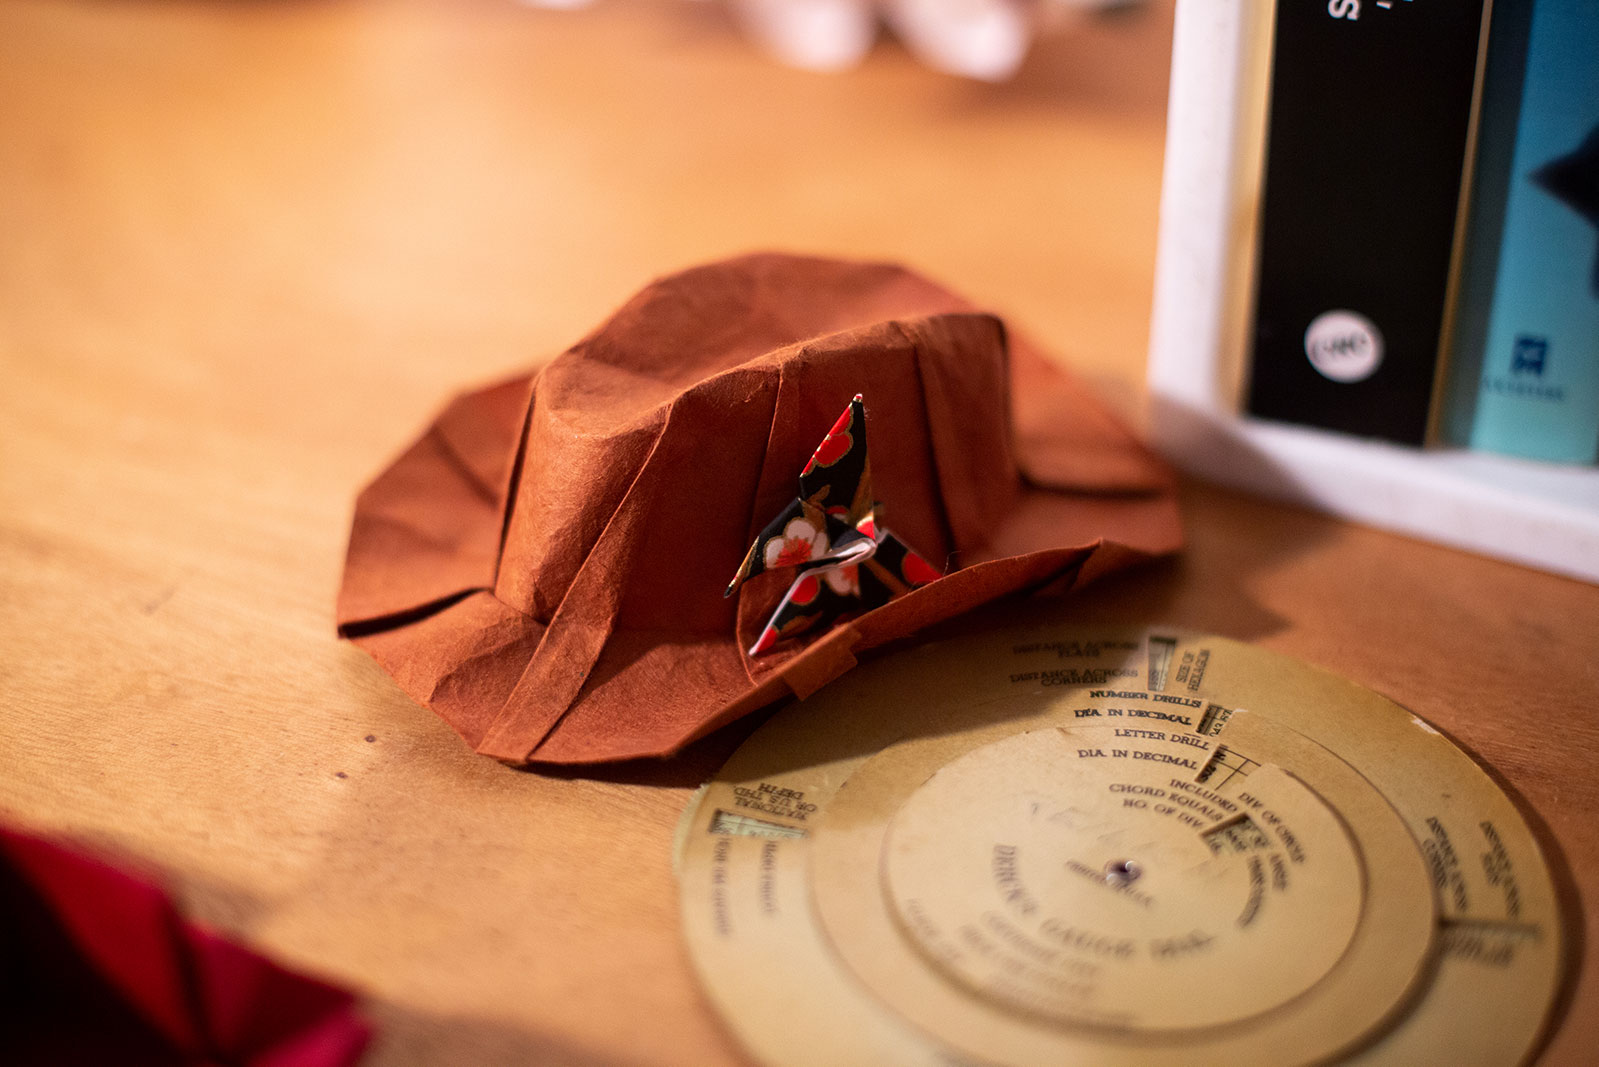
This exercise requires a cowboy hat. Ask the students to wrap a blanket or piece of fabric around the hat and adjust the pleating until it looks nice. This makes for an affirming moment where the students derive the crease pattern to Robert Lang’s Fedora.
Imagine wrapping a sheet around a sphere, can you picture the gore-lines like a hot-air balloon? What about a human face?- the moments of concavity require planning ahead. I have a go-to base for making origami faces that incorporates a back and forth horizontal pleat where the eyes go. Introduce this base, show everyone Eric Joisel’s masks, and conclude this workshop with everyone sculpting a face.
Single vertex flat-foldability
This is an irregular arrangement of 3 creases around a single point, where every interior angle is less than 180°.
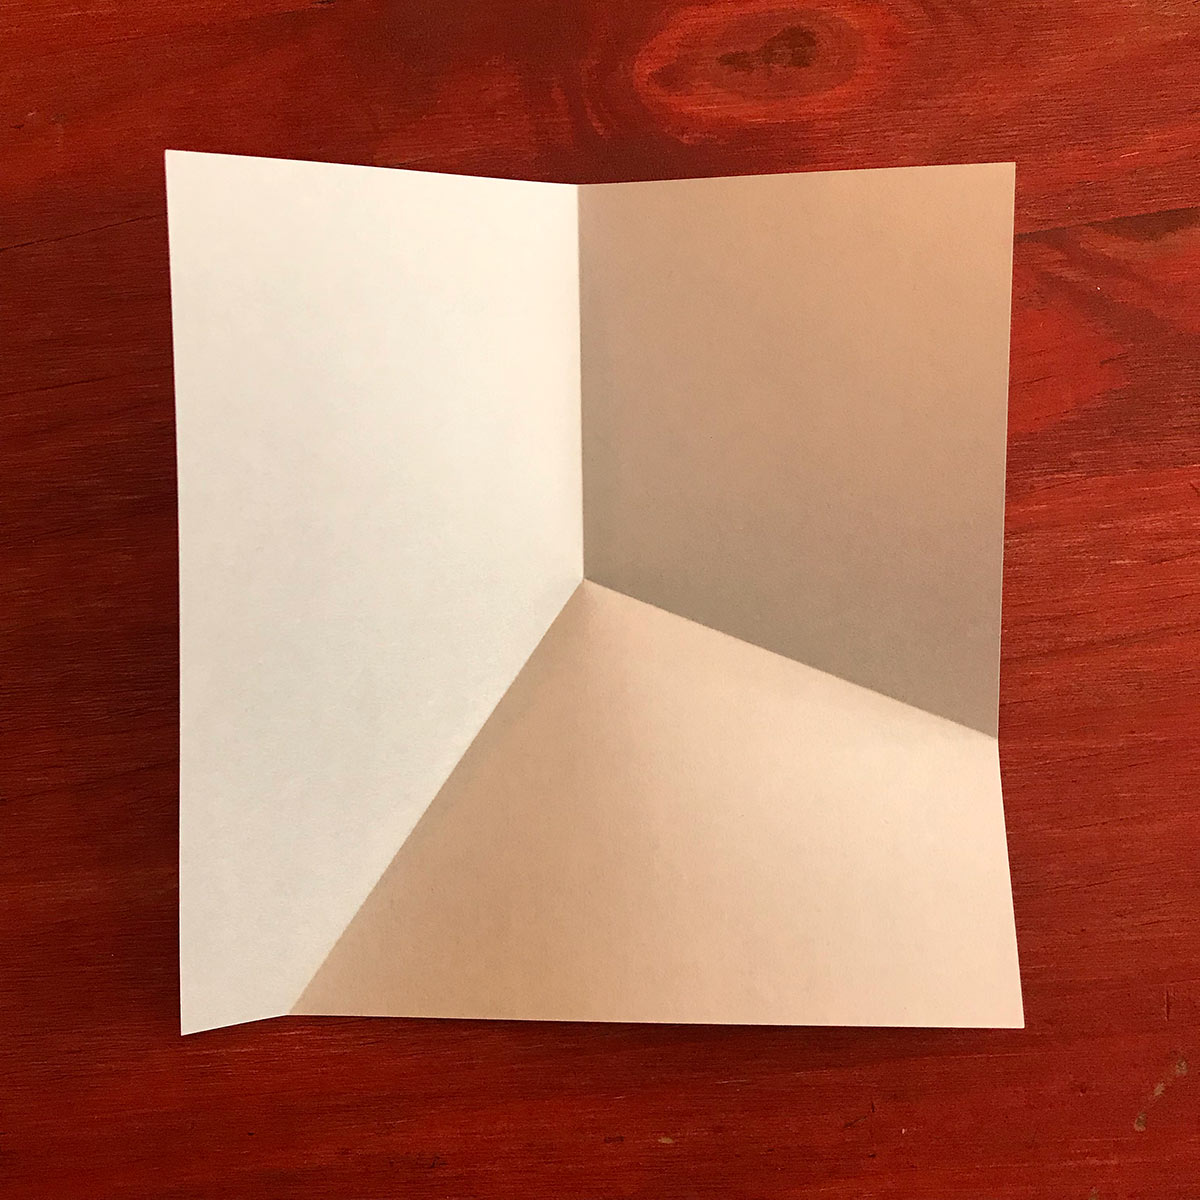
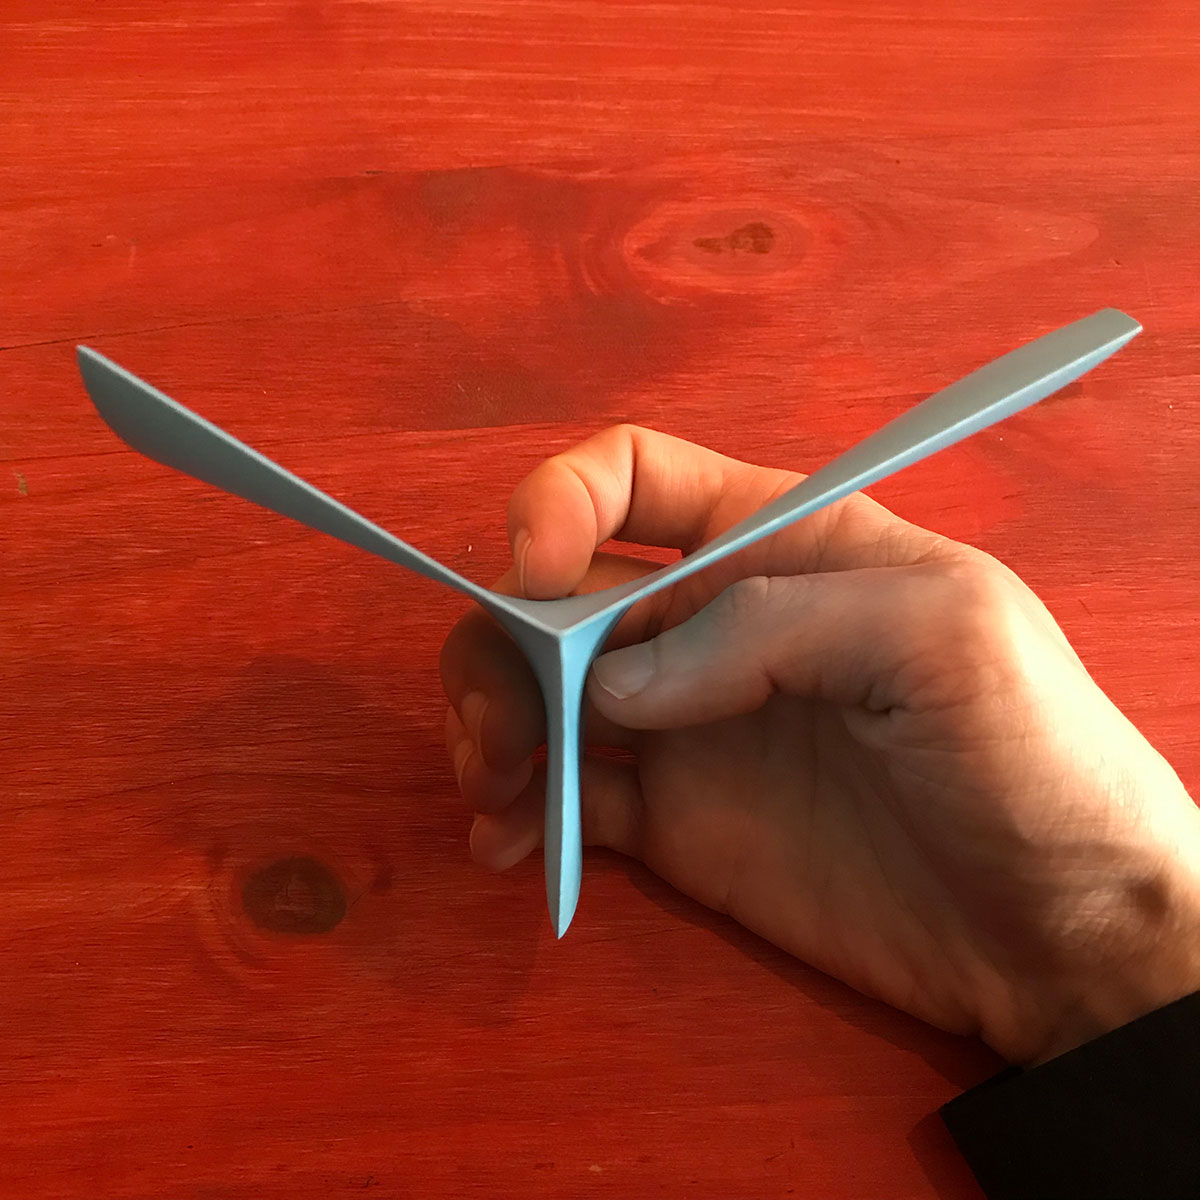
Ask students to collapse all 3 mountain creases at the same time. Next, flatten it by folding one of the 3 flaps onto another, this adds one valley crease.
Look closely at this new crease:
- Is it an angle bisection? no
- How many possible valley creases could have been added? three, one per sector
touch to reveal one of three solutions
Kawasaki’s theorem the sum of alternating interior angles must each equal 180°.
This exercise solves Kawasaki’s alternating angle equation by hand. My favorite kind of math. Spend time with Maekawa’s theorem as well.
∑ b = 180°
Ask the students to crumple a piece of paper, not into a ball, but flat against the table. Then un-crumple the sheet, and ask the students to locate instances of Kawasaki’s and Maekawa’s theorem.
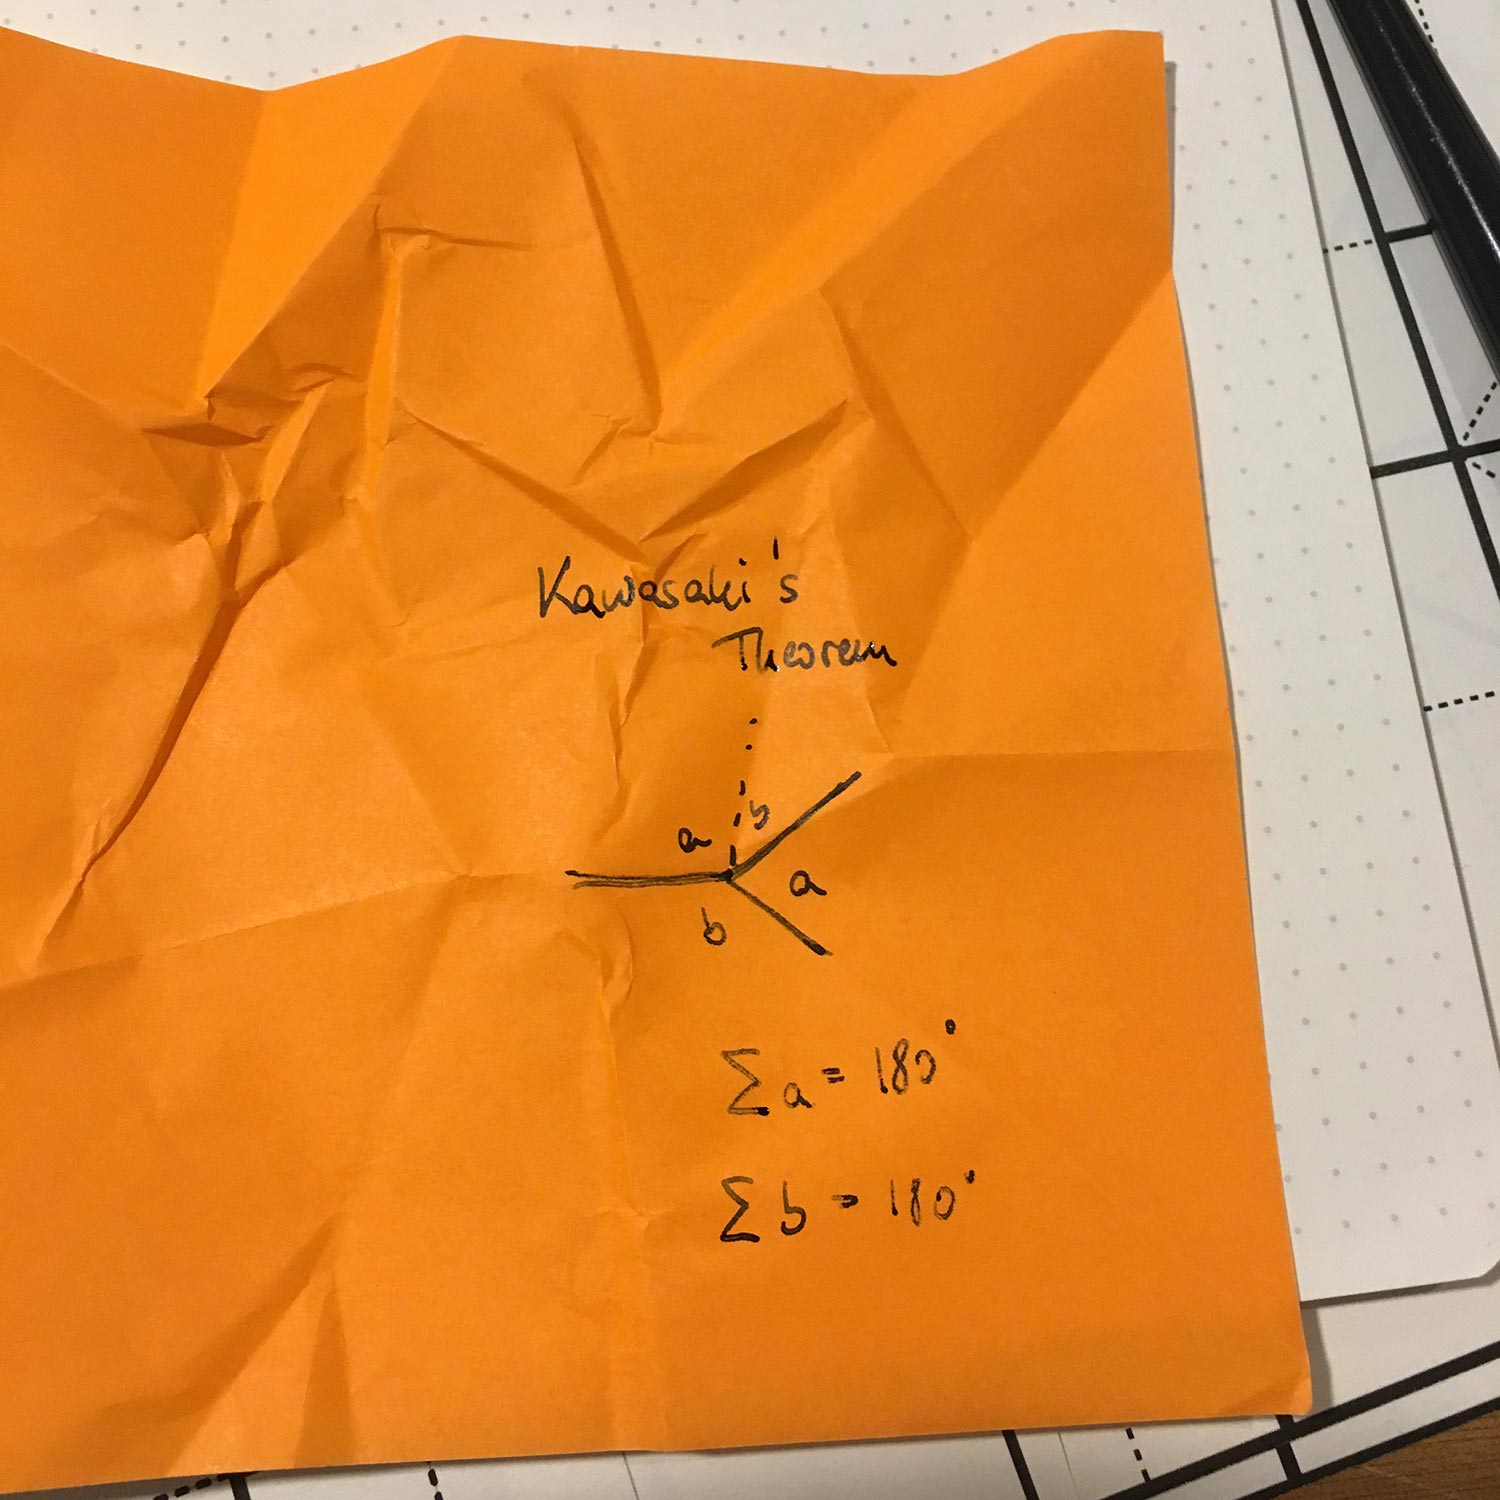
You’ll notice that most vertices sit at the intersection of four creases. It’s possible for this to be any even number, but finding a six- or eight-edge vertex is like finding a four leaf clover.
Can the students fold the following diagram in their head now? Does it pass Kawasaki’s theorem? Can it pass Maekawa’s theorem?
from On the Mathematics of Flat Origamis by Tom Hull
Remember, it’s easy to solve flat-foldability around just one vertex, but global flat-foldability for an entire crease pattern is unprovable on the complexity of the most difficult problems.
However under heavy constraints solutions emerge. Can you imagine a design pattern which can be automated? Can you constrain a system so that smaller parts will always fit together?
Twists and Tilings
Draw one convex polygon in the center of your paper, not too large. Any number of sides works.
- simple: draw a regular polygon
- advanced: draw any convex polygon
Mountain crease all the edges of the polygon.
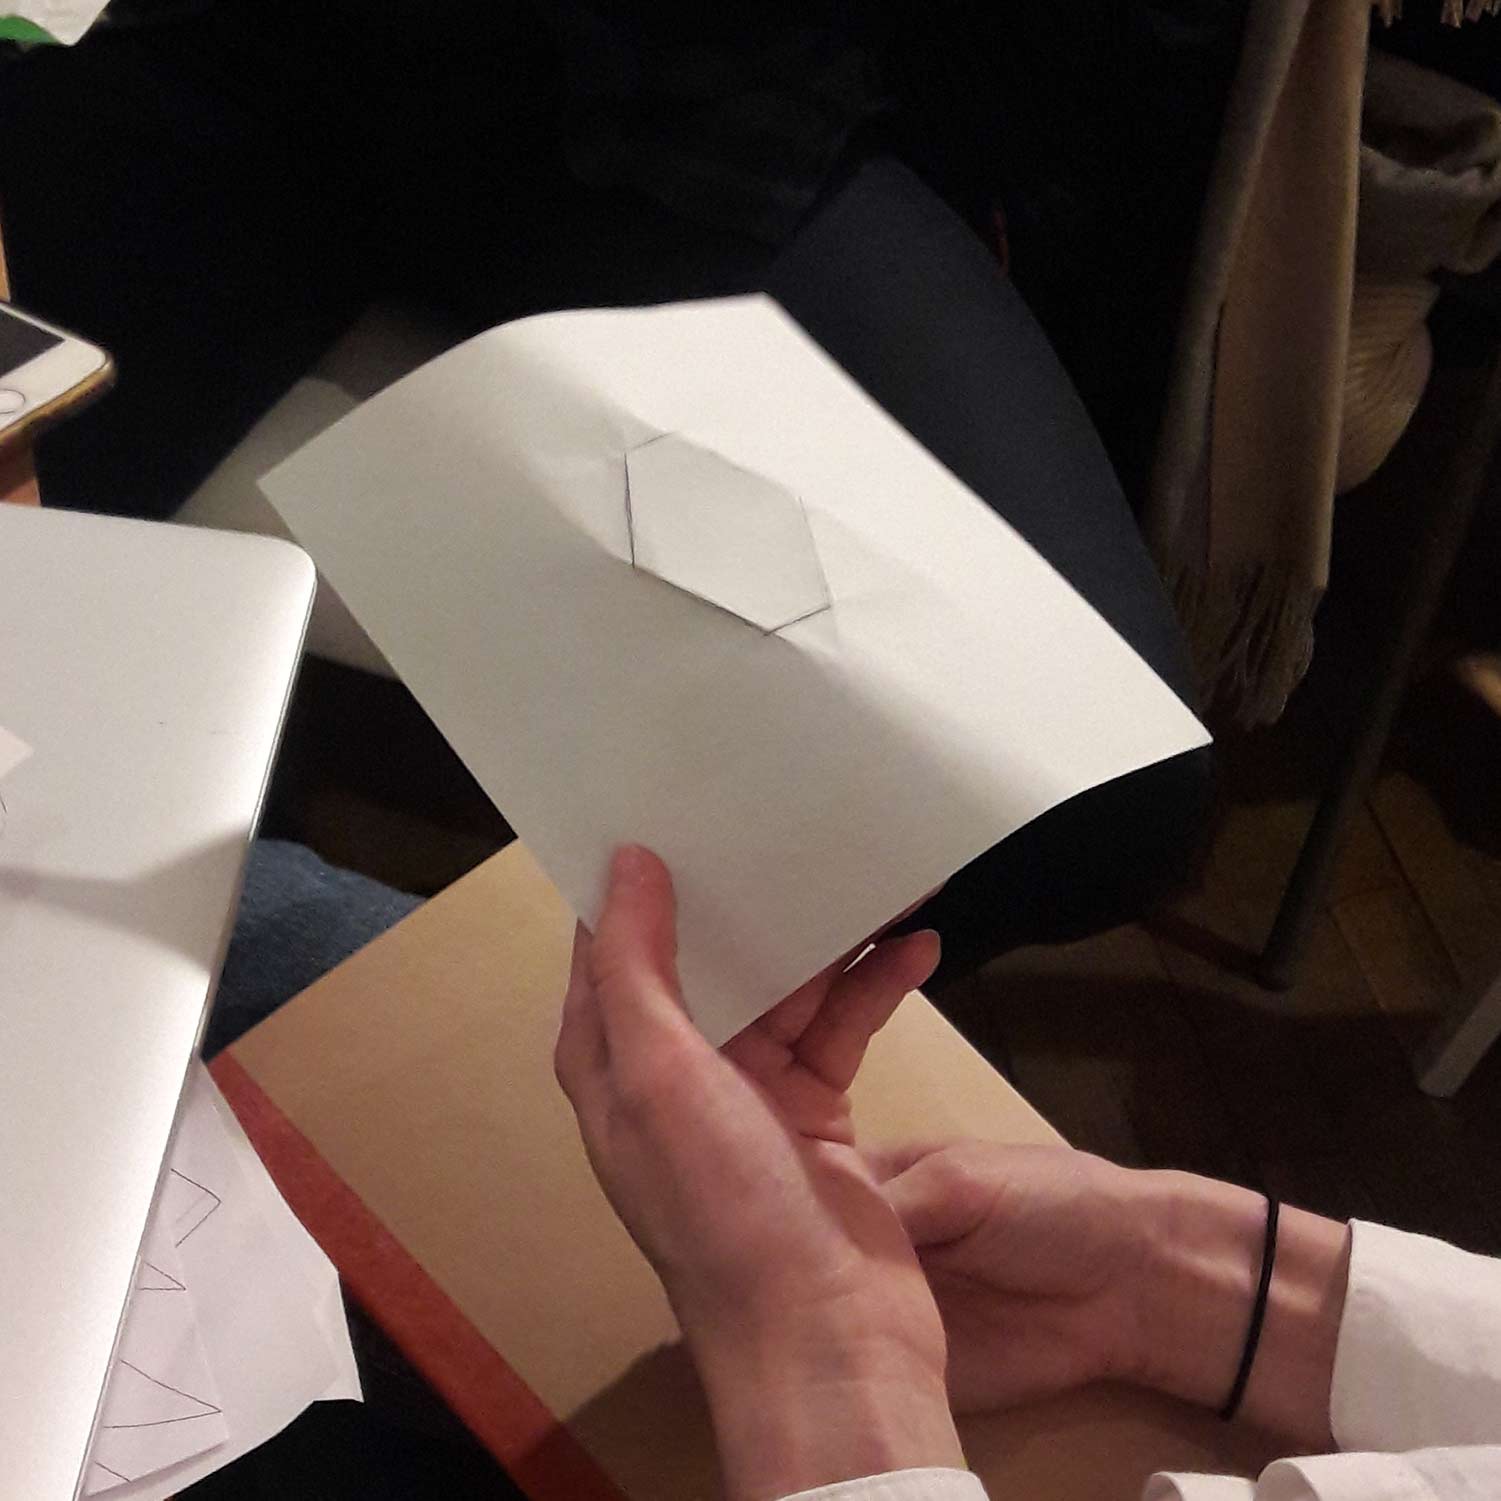
Then, for every point on the polygon, crease the angle bisector line, not inside the polygon, but out towards the edge of the paper.
This puts three creases at every point, perfect for the Kawasaki-collapse. Use the method from above to add a fourth crease at every point, all valley, all either clockwise or counter-clockwise.
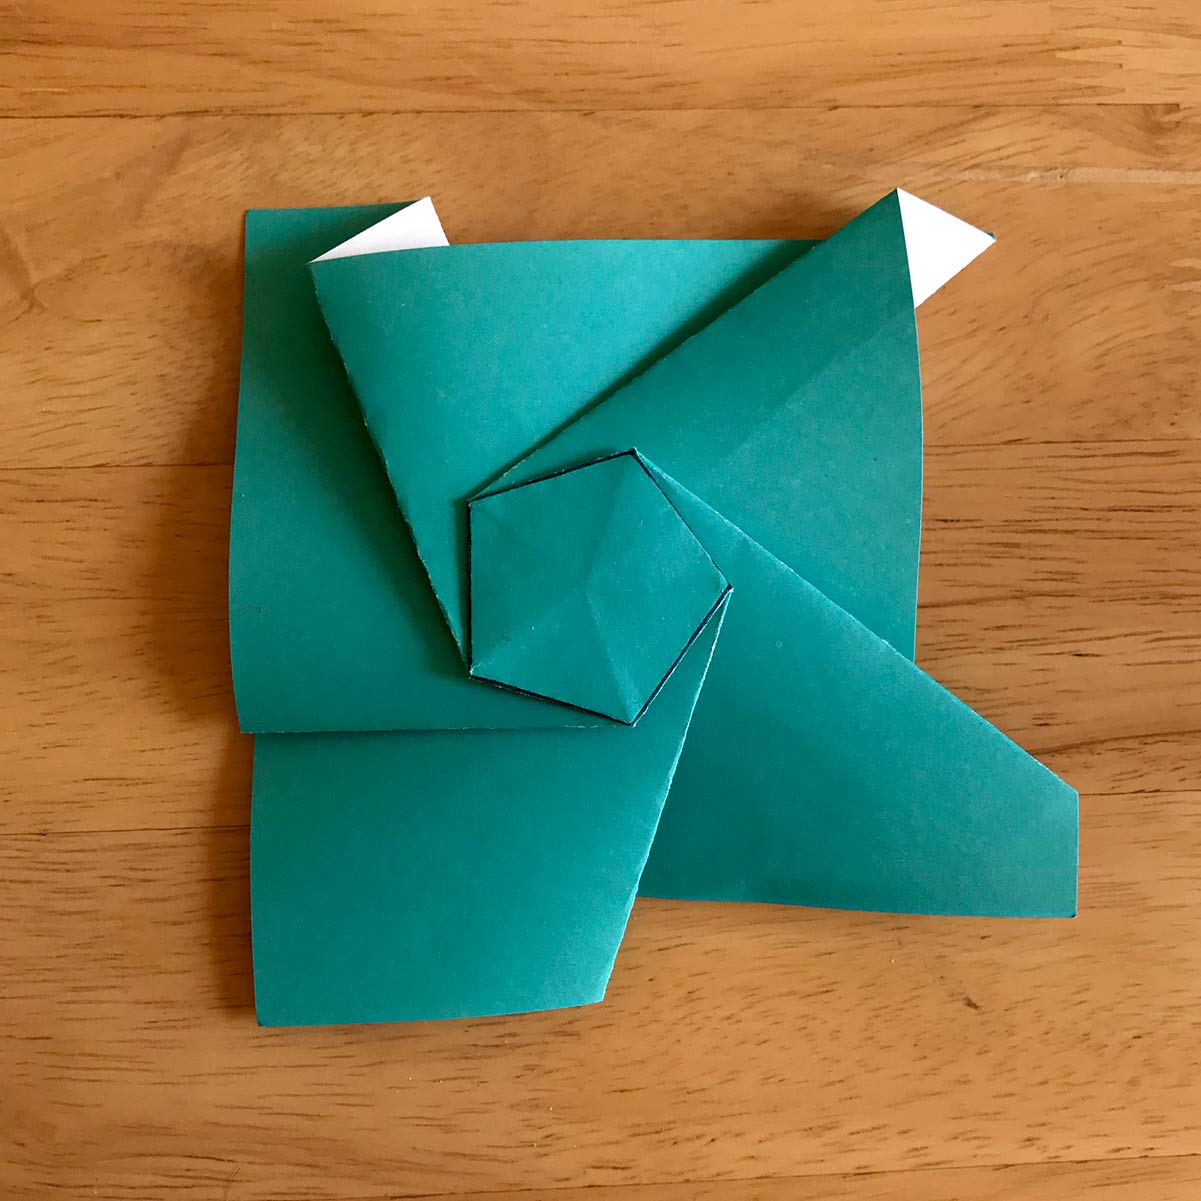
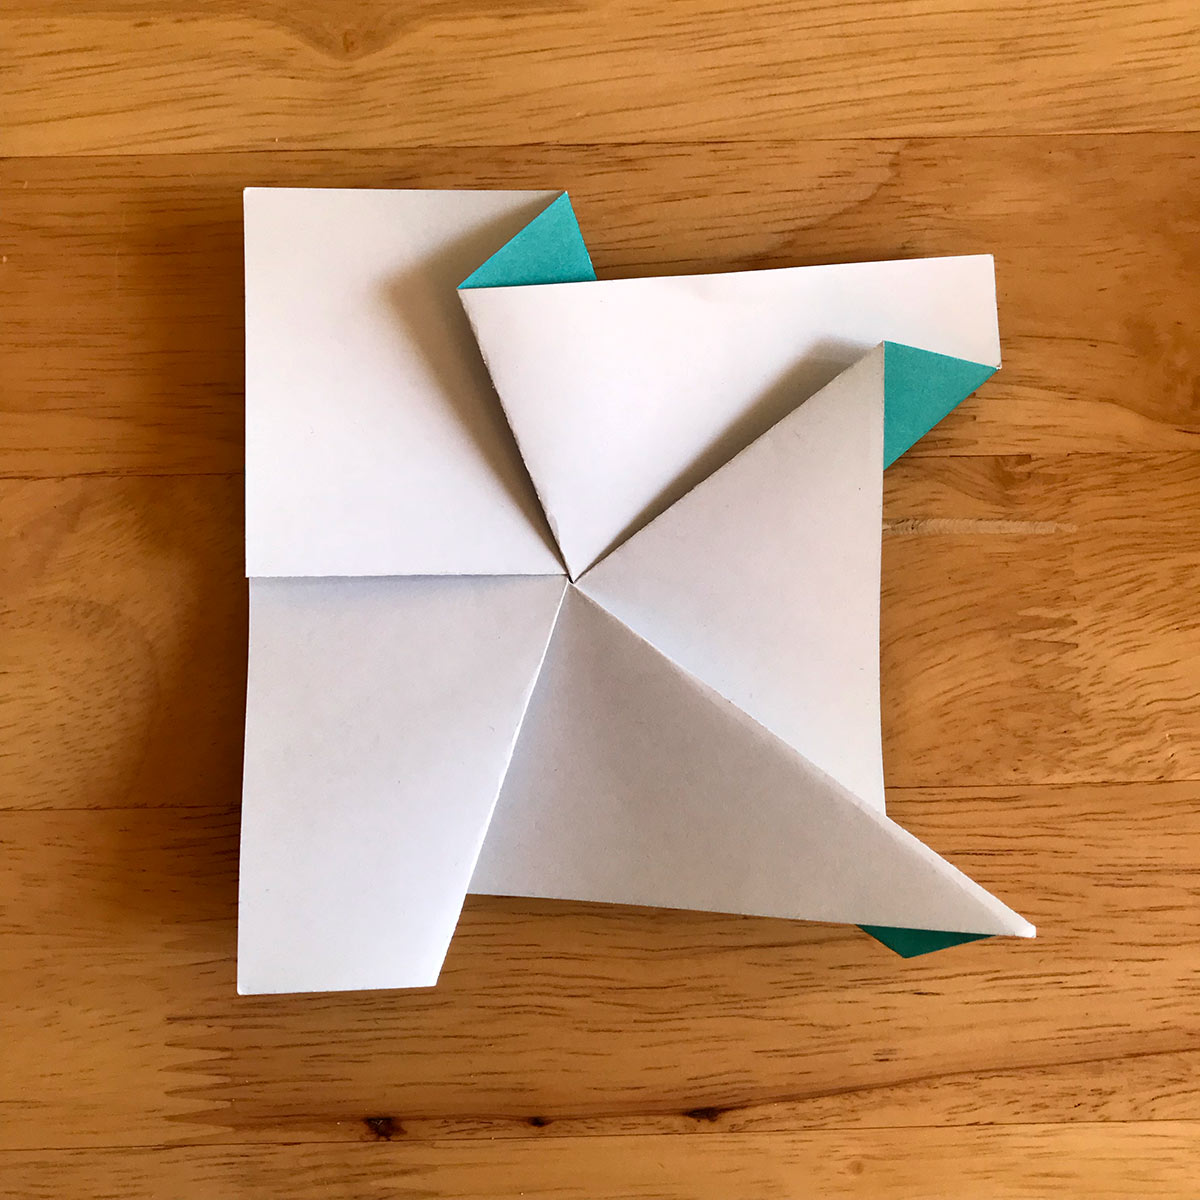
For those who did the simple approach, you should get a closed-backed twist. Everyone who went for advanced, it’s possible your layers are colliding, a perfect segue to discuss how to alternate your twist layer ordering.
move the yellow dots: a simple twist from a convex polygon
Talk about how to reflect and join these units end to end. Show examples of origami tessellations, introduce tiling patterns. The definitive resource of course is Robert Lang’s Twists Tilings and Tessellations.
Folding origami tessellations is like jumping on a bed and letting the bedsheet crumple in to the center; the corners and edges still orient the same direction. Encourage everyone to add curves, pull layers apart, identify the structural material so you know which parts of the material are available for play.
Pedagogy
1: Play with irregularity as often as possible. It’s too easy to ask people to follow a folding sequence. Look for ways to incorporate the instruction “make up your own fold,” even if it requires specifying a few constraints.
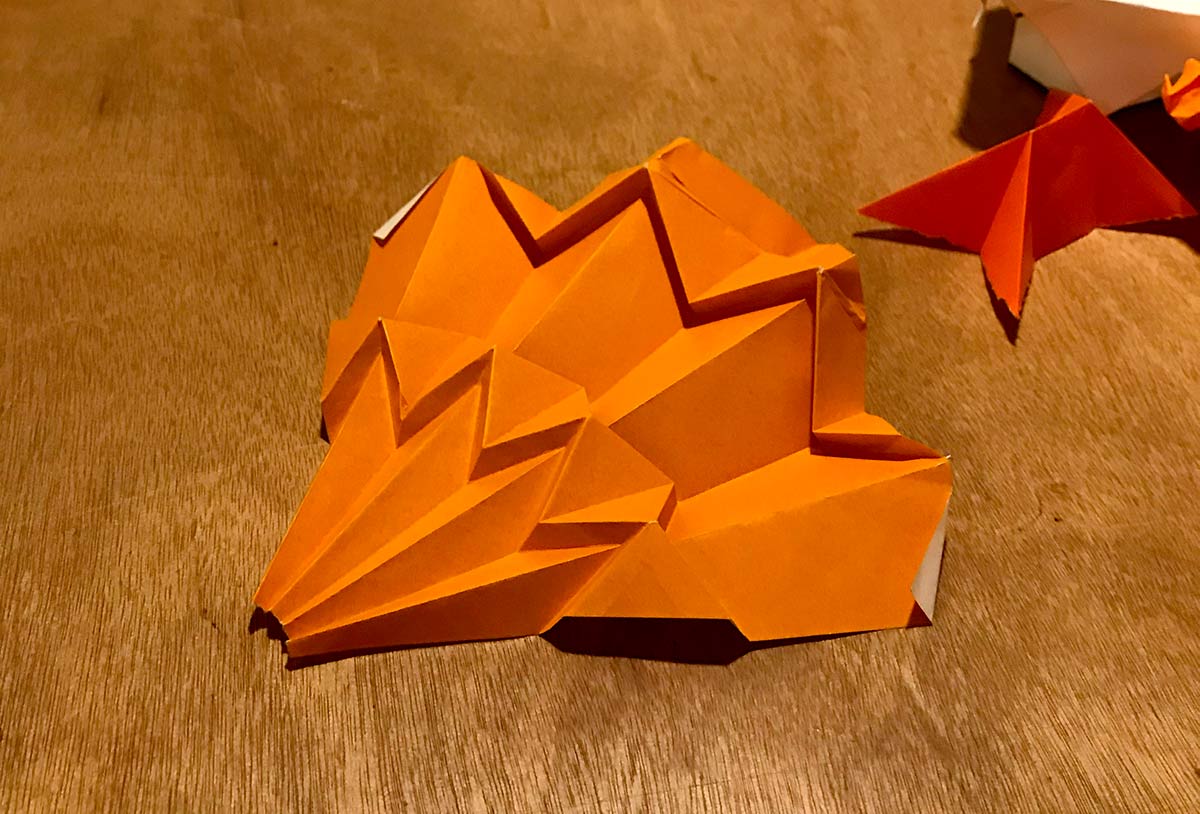

2: Creasing machines were hugely beneficial, it consistently brought the focus of the discussion back to the crease pattern. Furthermore:
- We prototyped and folded a uniaxial base using Treemaker in under half an hour by avoiding the need to align to a grid.
- People loved curved creases. Students gathered and traded vector files. Jun Mitani became a class favorite.

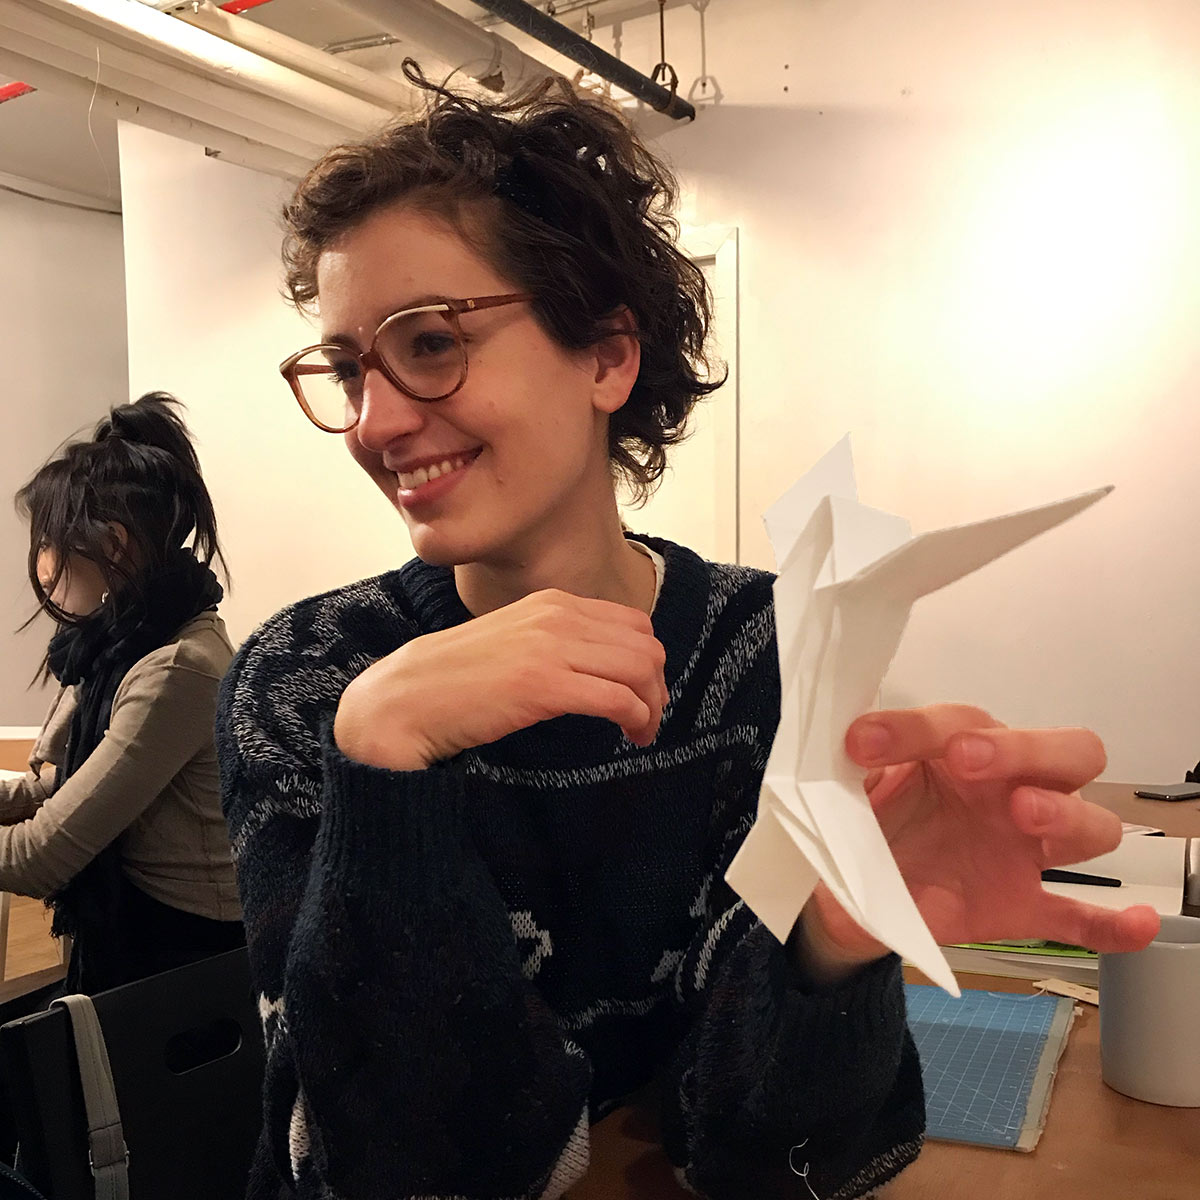
the creasing machines allowed us to design and prototype uniaxial bases start to finish
3: Follow a concept through from start to finish. The trade-off is that in-class exercises aren’t fulfilling a student’s maximum potential, more important is the distance traveled. Give the students the experience of having created something entirely from scratch.
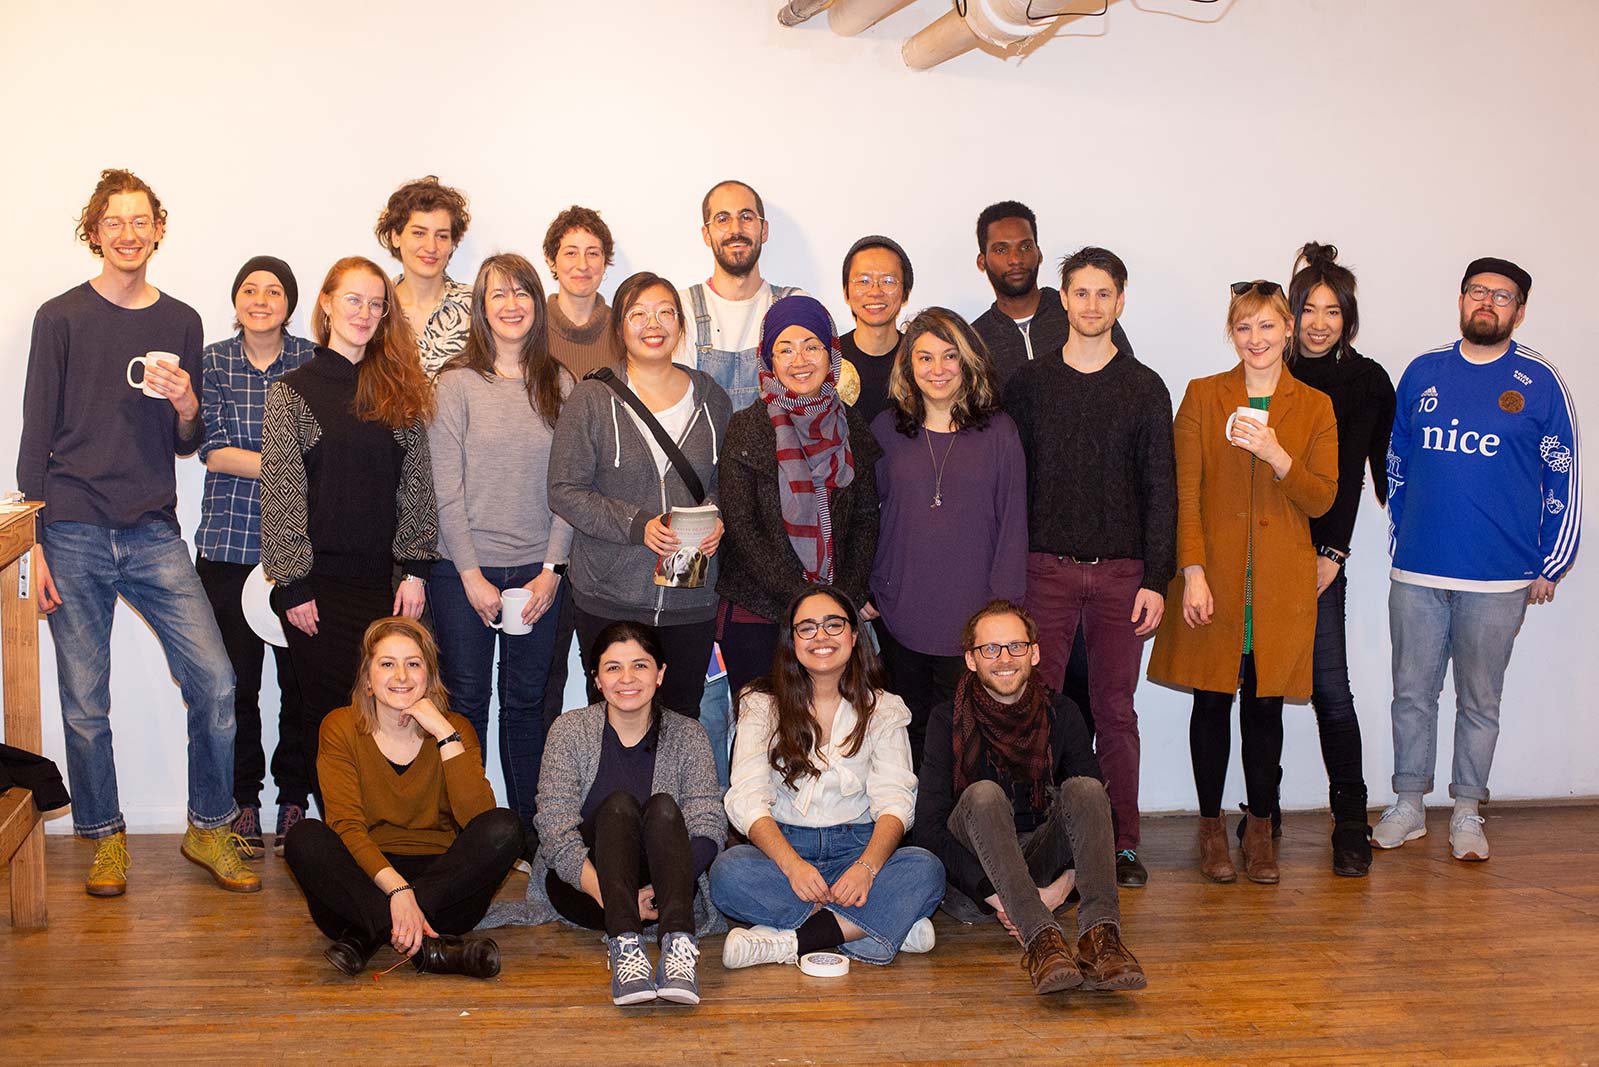
tired students at the end of the showcase. missing Alexandra, Bre, Katherine, and Frank.
Thanks to SFPC, Taeyoon and Lauren, Kelli, Stefan, our teachers Coralie Pam and Simon, and our students Alexandra, Ana, Bre, Brian, Derrick, Derya, DJ, Emily, Erana, Frank, Katherine, Katrin, Léonard, Lina, Miwa, Naoko, and Rona! <3
exhibition photos by Joseph Swide
